Well my posts have been pretty much non-existent as I’ve been away travelling around the UK doing lots of photo shoots recently but I’m back at Wyldelight Cottage and back in my lovely tiny kitchen. Anyone who follows me on Twitter or Instagram (hazelpatersonphoto) will be familiar with my cats, Boris and Poppy Bumface. Poppy Bumface is a very strange little creature, mostly antisocial and with a voice like a drunken docker she’s more Oscar the Grouch than lovable kitty. She’s also never been allowed out of the cottage, up until last Monday that is.
The hot weather has meant that the cottage windows have been open and the ever resourceful PBF had managed to climb up and out of the living room window to the wilds of Melton Mowbray. For a couple of days she came back obediently when called, checking in every 20 minutes or so to make sure the cottage hadn’t upped and left it’s little spot tucked away in the town, all was good. Then on Thursday lunchtime she didn’t come back when I called her. I called and called but no little bell could be heard, no squawking meow. I went round the front of the cottage and could hear her crying. It took me a while to figure out where it was coming from but there she was, up in the big lime tree that grows in the park next to my cottage, she was about 17ft up and she was stuck.

I called, I rustled her biscuits, I put tuna at the bottom of the tree and she just wouldn’t budge, she just cried. Now PBF is afraid of being alone, she cries if someone leaves the cottage to pop to the shop and she doesn’t like loud noises. I kept popping out to call her and see if she had moved but nothing. I rang the RSPCA and was told she needed to be up there for at least 24 hours before they will investigate. It was getting dark, the wind was picking up, the tree began to rustle loudly and sway and Poppy Bumface went from crying to howling with fear, it really was awful. I went round to the park (at this point I’m now in my Pyjamas), I’m rattling her biscuits and talking to a tree, it wasn’t my most attractive moment, tears welling up in my eyes and obviously having just split up with my boyfriend that was the exact moment he called: “sorry I can’t talk now I’m being a crazy cat woman in the park” is basically how the conversation went…
I didn’t sleep, her terrified howls carried straight through my bedroom window, in the morning I went out to see her. She’d now moved higher up onto a branch, not just any branch though Poppy had found a nice comfy nest to bed down in and there was a rather angry wood pigeon that wanted it back. There really was no chance of her coming down of her own accord, she just kept going higher and higher.
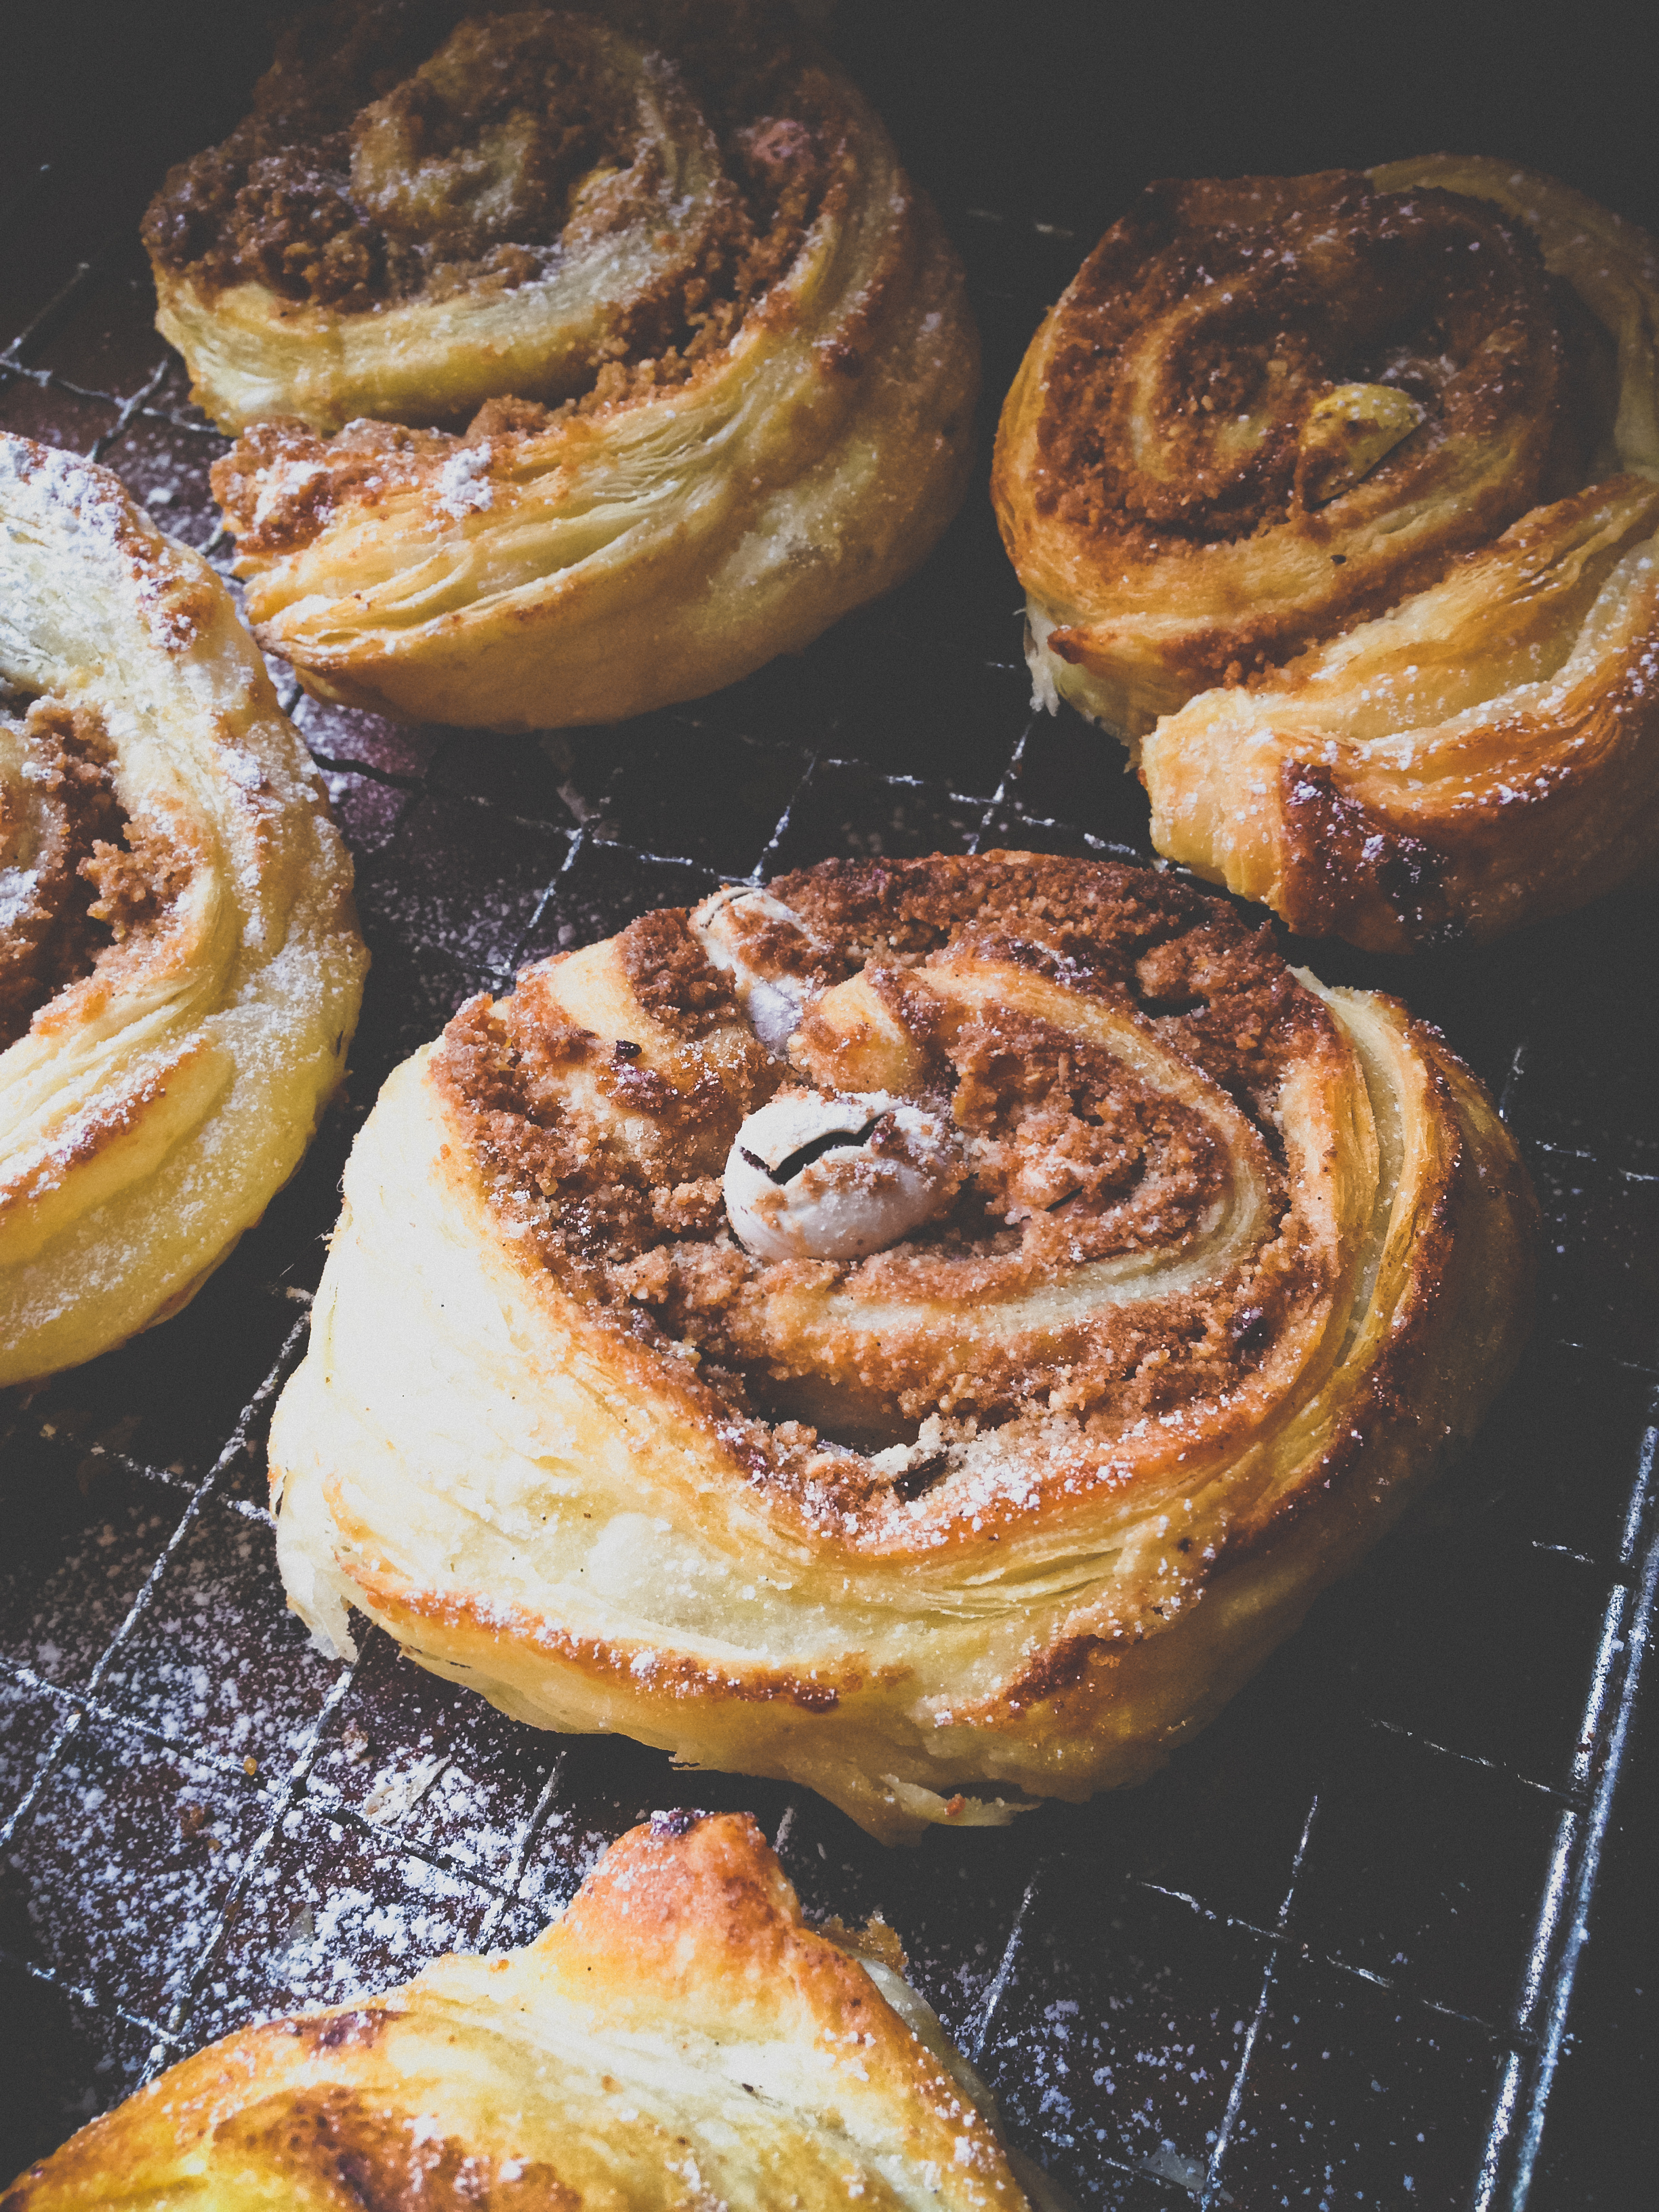
I rang the RSPCA again, she’s only a kitten and hadn’t had any food or water for 24 hrs now and her little voice had gotten so quiet. I was told to carry on waiting. I decided to bake some cakes for whomever managed to rescue her.
Lychee, Almond and Rose cakes (makes 10)
- 100g unsalted butter
- 120g caster sugar
- 1 tsp cream of tartar
- seeds from 1 vanilla pod
- 120g ground almonds
- 120g self raising flour
- 1 tsp baking powder
- pinch salt (I use Halen Môn Vanilla sea salt)
- 1 25g tin lychees, roughly chopped
- 2 tblsp lychee juice
Lychee Rose Buttercream: (really approximate quantities as I just kept tinkering unit it was right)
- 200g homemade butter (from Maria at Melton Cattle Market)
- about 2 mugfuls of vanilla icing sugar
- 2 capfuls rose water
- 2 tablespoons double cream
- 1 capful natural red food colour
- 1 tablespoon lychee juice
To decorate: edible glitter, gold shimmer spray, edible flowers.
Method:
- Put the butter in a mug and microwave it for 30 seconds then leave to cool. In a big bowl combine the eggs and caster sugar and using an electric whisk beat until very light and getting quite firm (about 4 minutes on high power) then stir in the cream of tartar and vanilla sees and beat for another 30 seconds.
- In another bowl combine the ground almonds, flour, baking powder and salt and mix well.
- Gently stir the cooled butter into the egg mixture being careful not to knock the air out then the butter, then carefully fold in the flour mixture then finally the chopped lychees.
- Divide the mixture between muffin cases in a tin and bake in an oven preheated to 180C for about 20 minutes or until skewer comes out clean when pushed through the centre. Allow to cool on a wire rack.
- Make the buttercream by beating the butter with an electric whisk until light and fluffy then gradually beat in the icing sugar, add the rose and lychee waters and food colouring and continue to beat and add icing sugar. Add a bit of double cream and keep beating until the mixture is smooth. If it splits just add more icing sugar and bit of cream and keep beating. When the cakes are completely cool splodge a decent amount of icing on top then decorate.
So the cakes were made and Poppy was still up in the tree, except now she was so high I could no longer see her, I could tell she had climbed higher than the cottage roof as her cry was no so quiet. The old lager boys in the park came over to investigate clutching their cans of super strength beer, they wanted to climb up to get her, oh dear this was all going to end quite badly. I stood with them for about 20 minutes saying it was going to be way too dangerous, they were pretty adamant though. They all know mybothr cat Boris as he goes over and hangs out with them on their bench, Boris knows everyone, he has a better social life than I do.
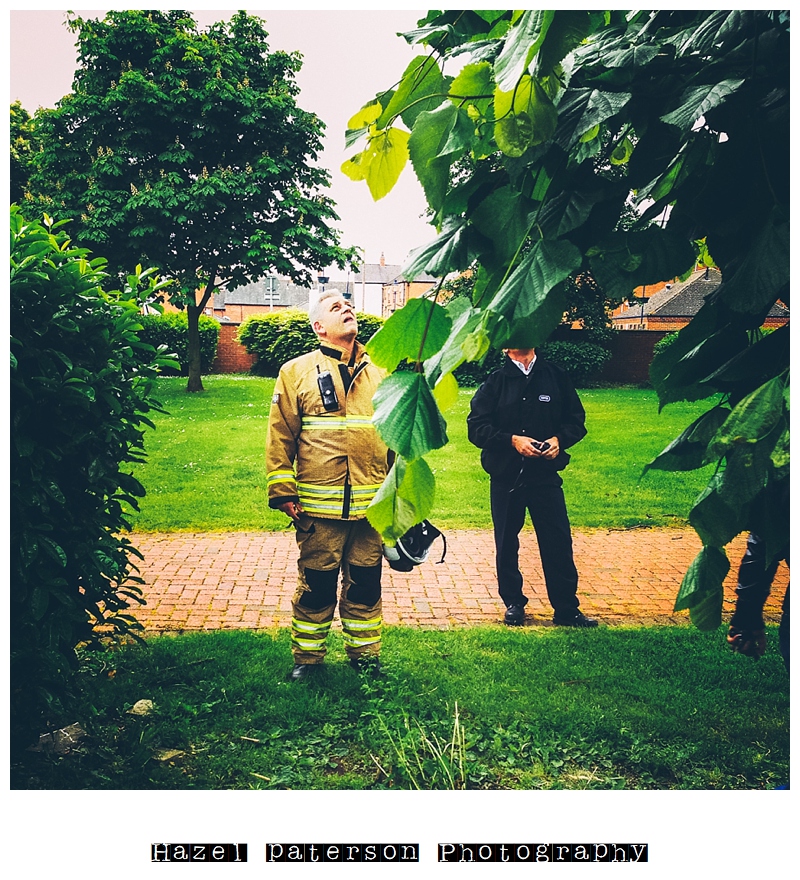
Now at about 23 hours and after another call to the RSPCA Inspector Keith Ellis arrived, I could have hugged him, the CAVALRY! We stood in the garden and tried to spot her, after about 10 minutes she appeared, she was SO HIGH up now, perhaps 40 – 50ft, well above the height of my chimney on the roof, she was now out on a branch. Inspector Ellis called the duty fire chief from Melton Mowbray fire and rescue to come and have a look.
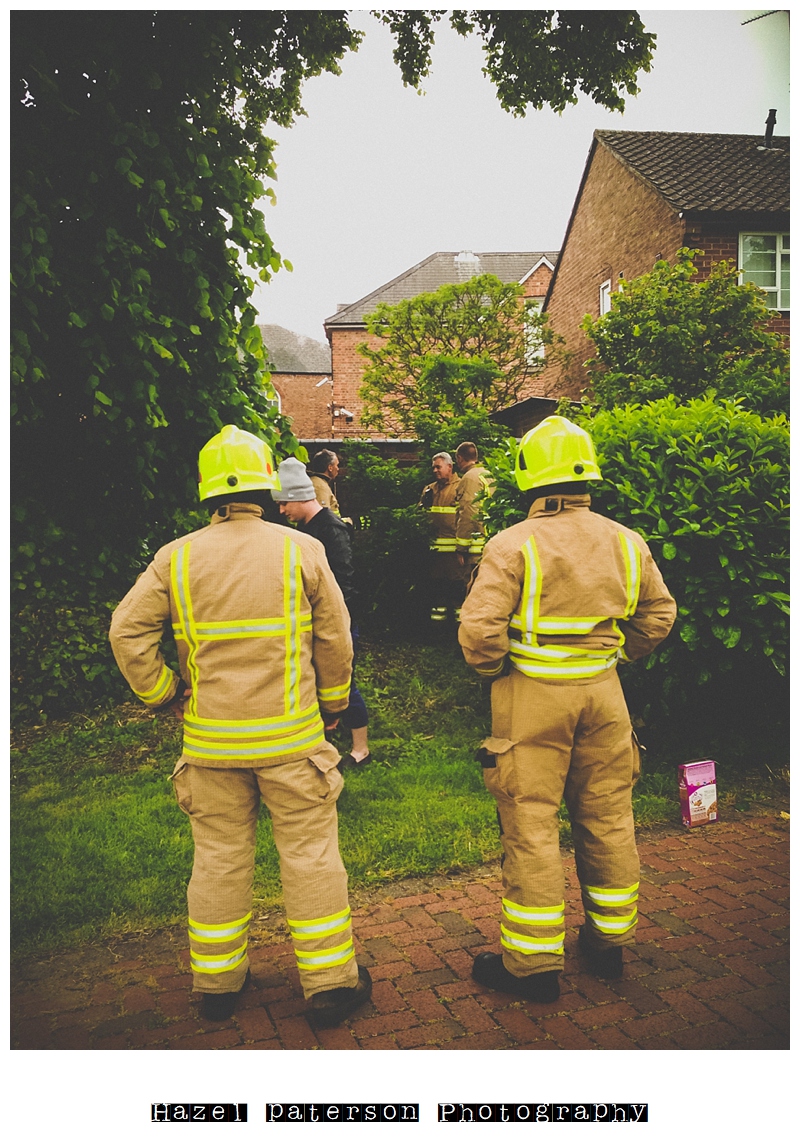
 The chief arrives, he can hear her but not see her, he calls the truck to come to the park and the boys get out. They can hear her but she is so high up they can’t see her, they go and get the thermal imaging camera…

Then, they spot her. The chief thinks she is too high up to reach but they get the ladder anyway.
It’s pretty rare they do this kind of thing so they were saying that its actually a really good training exercise for them, this made me feel much better.

As thunder started to rumble a fireman named Dex suits up into a climbing harness and the rescue mission is underway. One of the guys (bottom left picture) mentions to me that when they are called out to talk down someone sat on the edge of a roof they send a fireman that smokes up, apparently most jumpers are smokers and the act of sharing a cigarette bonds the pair together which helps talk them down. He jokes that they should adopt a cat that climbs up and talks down other cats from trees, a smoking cat preferably. Boris volunteers himself by heading over to their equipment and watching on…

Boris in the centre of the picture supervises the rescue…
Dex comes down the ladder for the grabber then heads back up feeling pretty confident he can get her. It was actually incredibly sweet as I could hear him meowing at Poppy Bumface 🙂 Then I heard her bell and then very slowly Dex started to climb all the way back down clutching a very frightened kitten to his chest, I very nearly burst into tears.
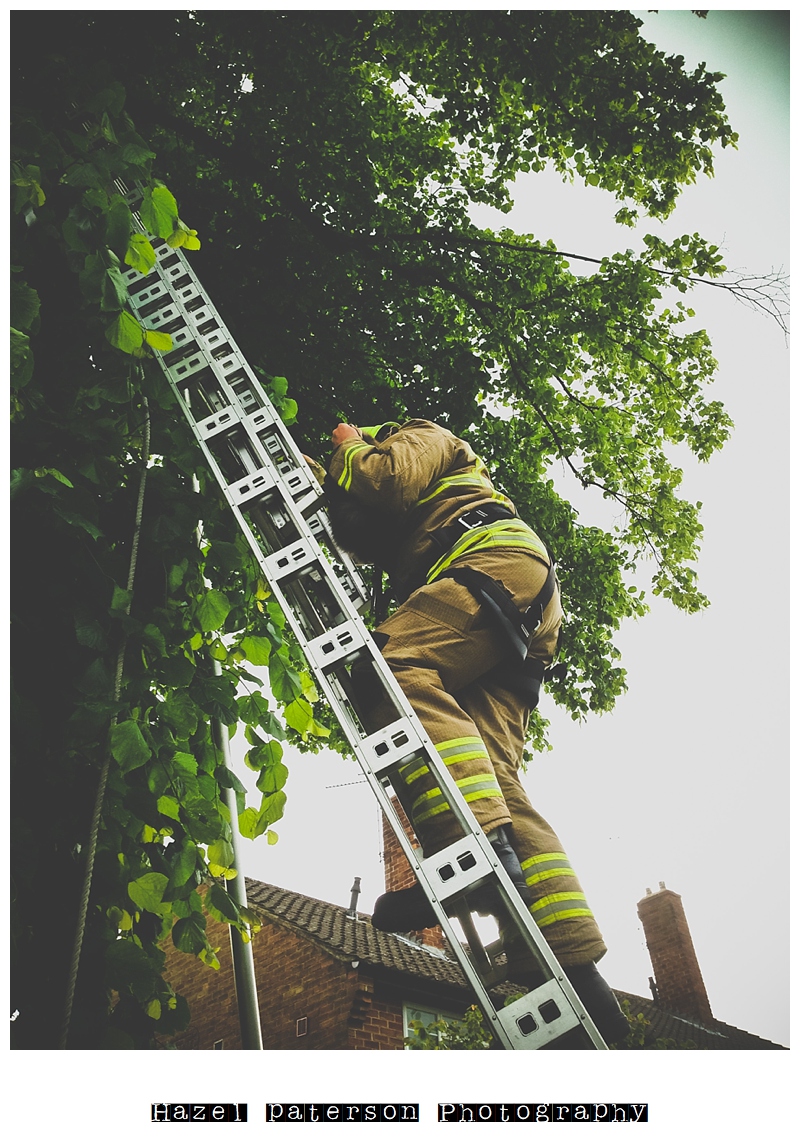
Dex climbs down carrying Poppy Bumface
And then after 24 hours stuck up a tree, little Poppy Bumface is down!

Dex my absolute hero holding Poppy Bumface, RSPCA Inspector Keith Ellis on right
Hurray for Dex! Hurray for Keith, hurray for all the guys from Melton day shift Fire and Rescue, total stars!

So Poppy Bumface was rescued and the wonderful day shift from Melton Mowbray Fire and Rescue went off heroically with a tin full of the lychee rose cakes covered in edible glitter and flowers (and with 25% off a photo shoot if they wanted one for them and their families, although I’m totally up for taking pictures of semi naked firemen *if* thats what they really want!). Poor Inspector Ellis missed out on a cake though so I owe him one, everyone really was wonderful and yes Poppy Bumface is well and truly grounded for the foreseeable future….


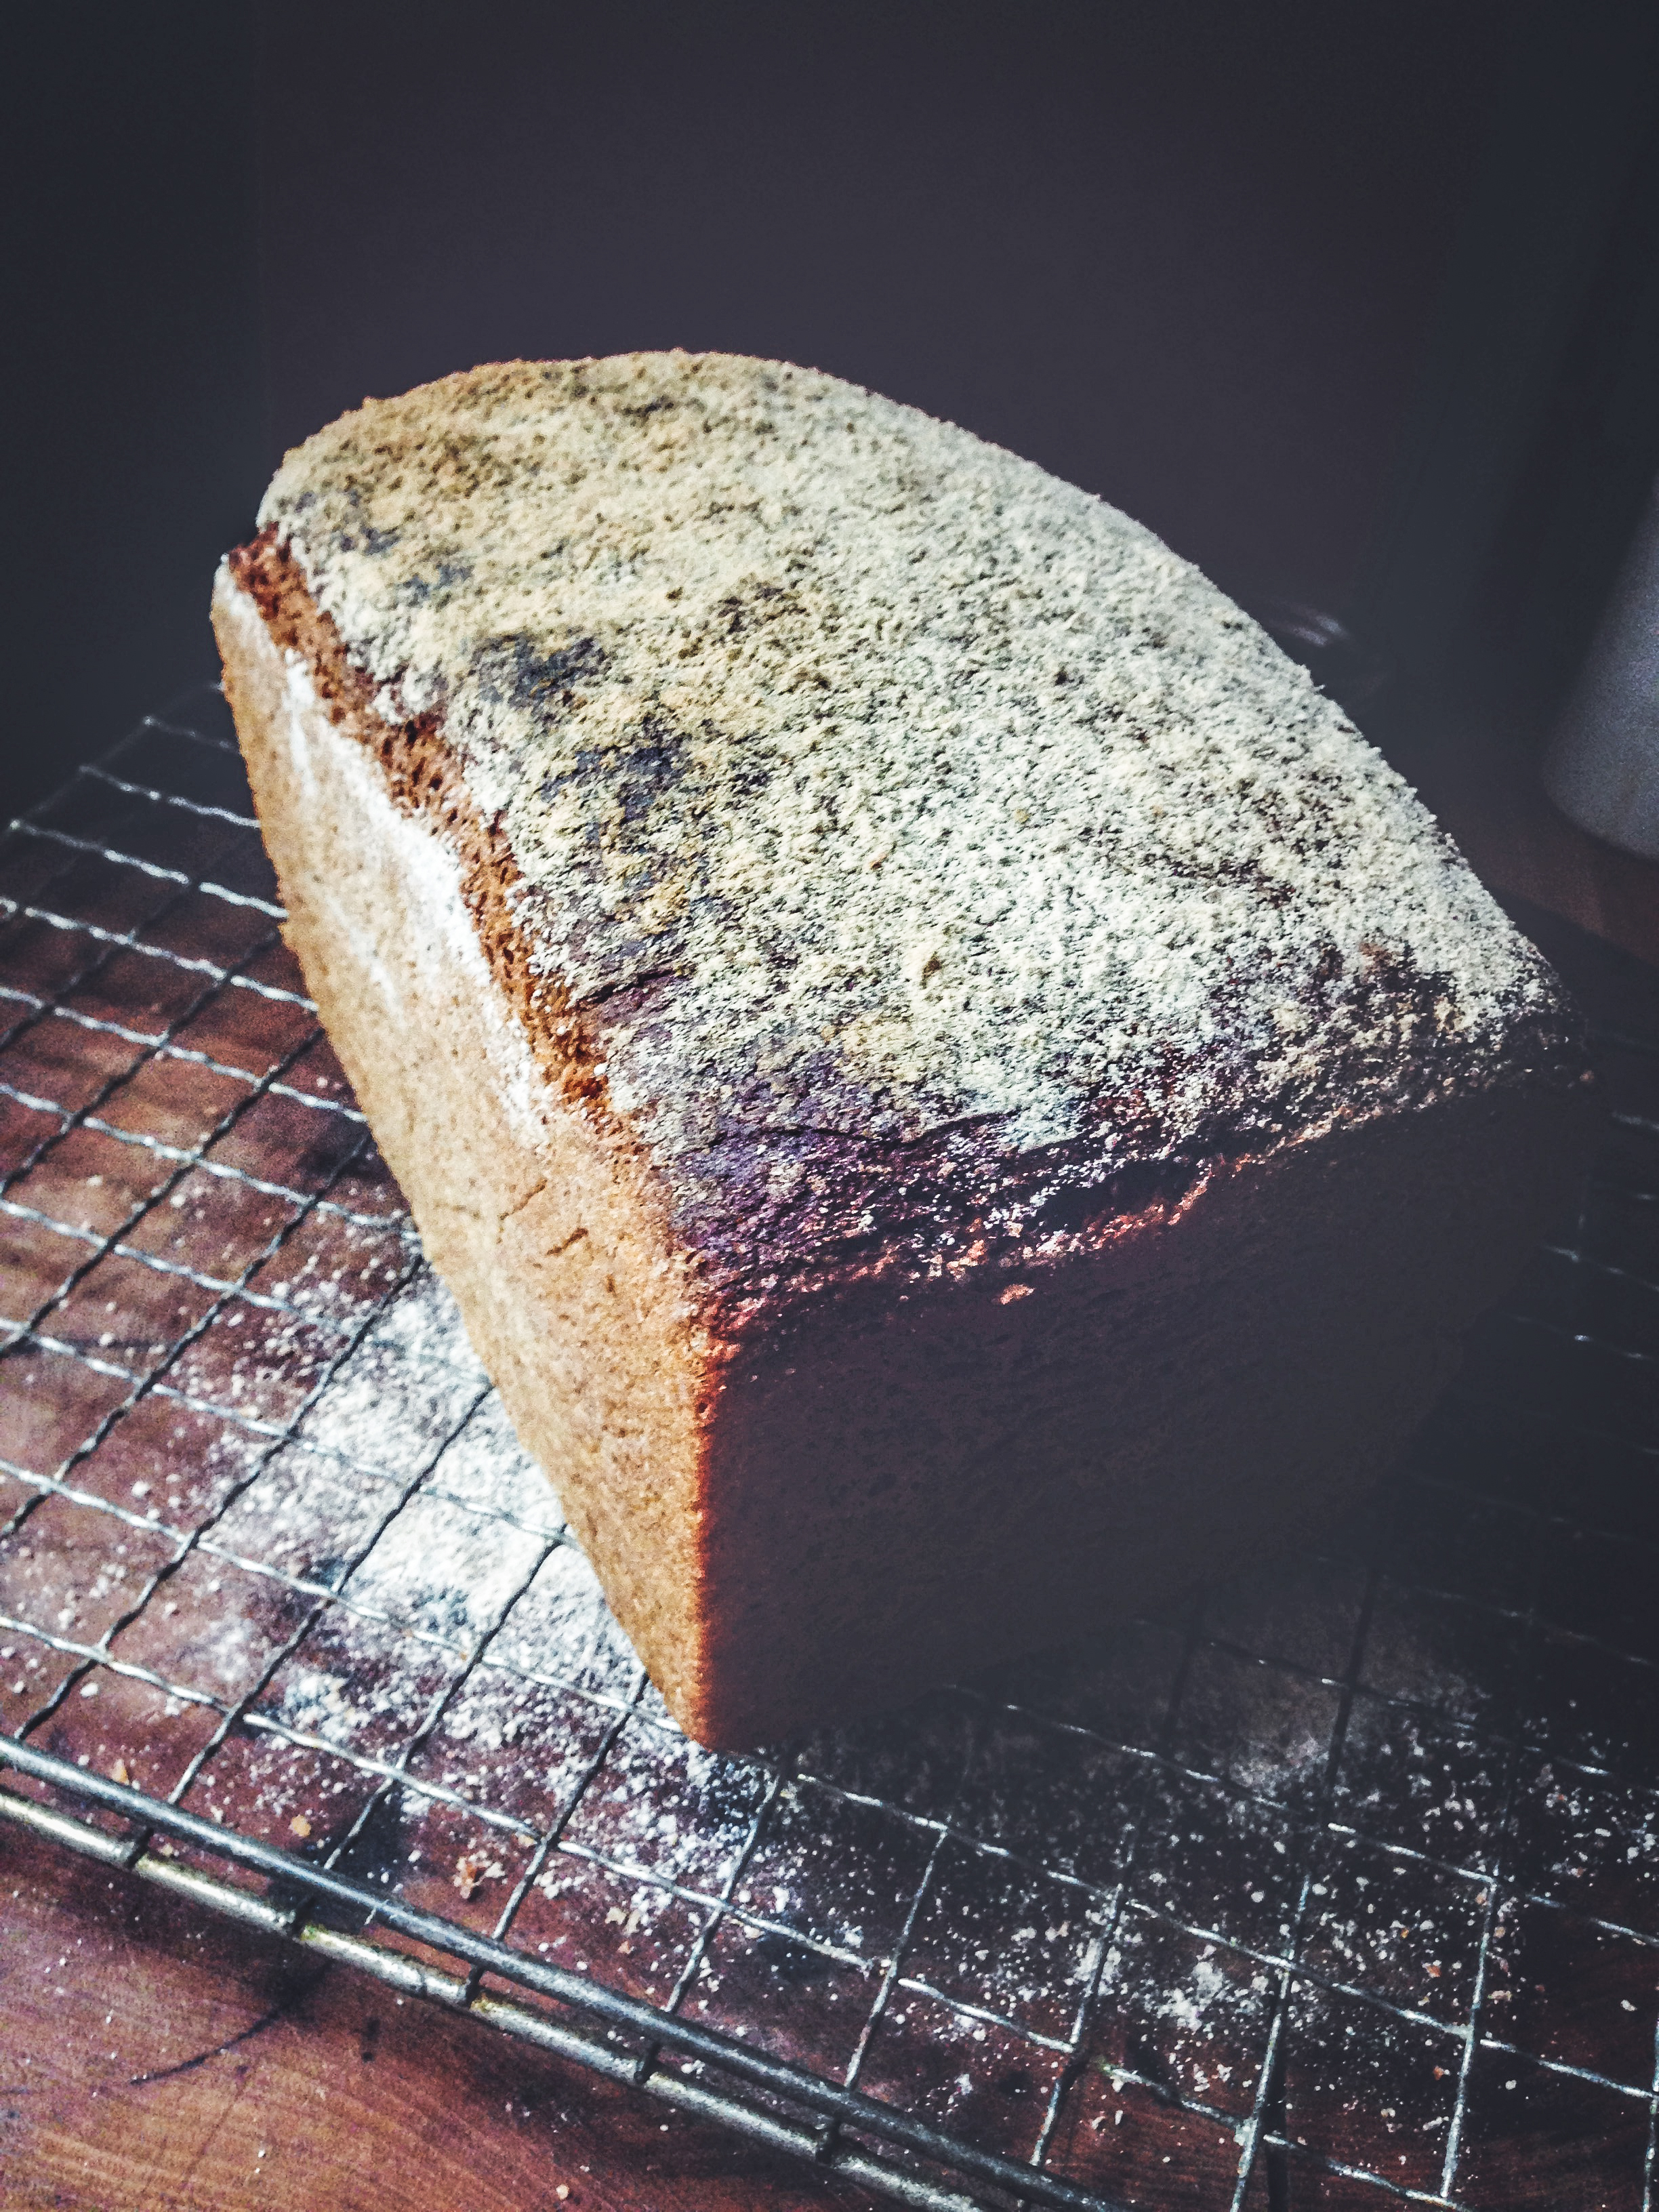
 It’s been a while since I made sourdough, probably about 4 years or so, but the lack of yeast on the shelves means it’s back on my lockdown radar.


 It’s National Brownie Day today so I made a little film about how to make salted caramel triple chocolate fudge brownies for Metro.